Last Updated on: 12th December 2023, 11:28 am
Obtaining a fake ID has become a staple of American culture ever since the National Minimum Drinking Age Act was passed in 1984, making it illegal for anyone under the age of 21 to purchase booze. Then the 2007’s Superbad came out, and everyone went crazy for the McLovin novelty ID, but then President Donald Trump signed the Tobacco-Free Youth Act, which prevented them from buying cigarettes.
8 Steps to Make a Fake ID
It’s no secret that having a fake ID can come in handy, especially if you’re trying to get into a club or a bar. In this article, we’ll discuss how to make a fake ID. Please note that all the steps listed here are for educational purposes only.
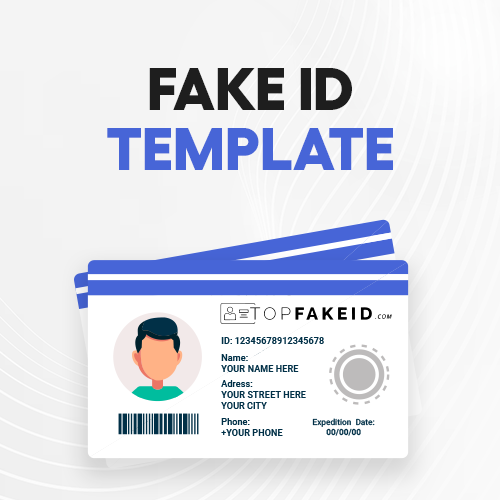
1. Find an ID Template Online
Photocopying your parents’ ID might seem like a good idea to obtain a template, except that it actually isn’t, unless you own a scanner or a photocopying machine. You’d still have to get a hold of their ID and take it to the local copy and print shop to have it copied, assuming that the clerk even wants to copy it for you, given that the ID isn’t actually yours.
The other option is to photograph it with your phone. However, you’ll have to match the angles, take note of lighting (no flash), and there’s the chance that the ID just won’t look as good when captured by the phone.
Your best option is to get the ID template on the internet. Search for the ID template that matches the state that you’re trying to fake. Additionally, if you’re tech-savvy, you can try and get a copy off the deep web as well.
Some of these are blank, which means you can just edit the template in image-processing software such as Photoshop or some other photo editor. Others are form-fillable, which means you can simply type each line of text into the template and print it that way, which is admittedly easier.
Note that torrent websites and the deep web aren’t friendly places, and the files you download might contain malware. Additionally, your internet traffic might be monitored by your ISP and various government agencies, and you might end up in trouble if you’re caught or you catch a computer virus. Paid VPNs and antivirus solutions are your friends in this endeavor.
2. Take a Photo
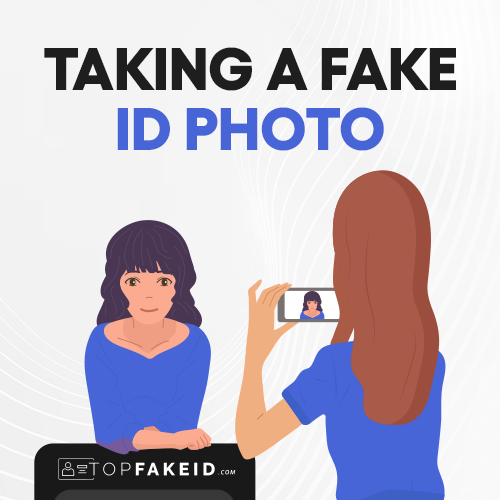
Once you’ve obtained the template, there’s no need to make any edits just yet. First, you’ll need to take a good-quality photo for your fake ID, especially since bouncers and security personnel are trained to look for fakes.
Using random photos for your fake ID isn’t a good idea either, and for several reasons—there are small tells in photographs that clearly separate fakes from real ones.
ID photos are taken in well-lit booths with a background that’s easy to edit (single color or gradient) if necessary. You may smile slightly, but all of your facial features have to be visible, down to the minute details. That’s why you’ll need a good professional-grade camera. A good entry-level DSLR camera, even a used one, will be perfect for this.
Alternatively, you can use your smartphone camera unless your smartphone is from early 2010. But the most crucial thing in a photo is lighting. You need good lighting, so if you have access to a light ring that can mount your camera, that’s perfect. If you look at your parents’ or guardians’ ID, it has very little or next to no shadows, which is what you should replicate. The last thing to pay attention to is background. Depending on the state, you should either have your sky blue or transparent background.
Nearly every state has its own requirements for the photo background color, so make sure to use a background that meets those requirements. If you don’t pay attention to the details we pointed out, you’re more likely to get caught sporting a fake ID.
3. Edit the Template
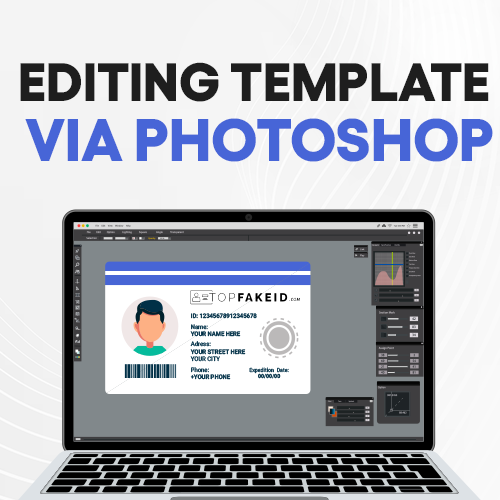
Once you’ve obtained your template and a good-looking photo, it’s time to put it all together. First, you want to get the template filled out with appropriate information. Don’t use your real name or your real residence. However, you should get things such as sex, hair, and eye color to match.
Next comes the age. Pick a date of birth that’s close to your age. If you’re 17 or 18, you should pick a birth year that makes you 21 years old. Just make sure to get the month and date right. Being a few months short of 21 most likely won’t get you where you’re trying to go.
Make sure that you research, find, and download the appropriate fonts used on your state’s ID. Sharp-eyed individuals might pick up on the wrong font and bust you for sporting a fake ID. Make sure that the font and the text on your fake ID match the ones used by your state. Most fake id makers use codes that match the details on the photo you’re using.
In the US, and many other countries around the world, eye and hair color codes are three letters. We won’t list them here, as there are too many of them, but you can easily find this information online.
4. Edit the Photo
Get your hands on an actual ID from your parents or older sibling and use it to fine-tune the contrast and color saturation on the photo you previously took. Import the photo of yourself into an image-processing software, such as Photoshop, Fireworks, or GIMP, to edit it. You’ll need an actual ID so that you can adjust the contrast, brightness, and color saturation levels in your image.
Here comes the most important step: once you’re satisfied with the quality of your edited photo, save it as a separate file. The next thing we’re doing is playing with the size of that particular photo, or if you scale it down too much, scaling it back up will compromise the photo’s quality, resulting in a really poor image resolution.
5. Bring Everything Together
Import both your edited template and the edited image into the image-processing app. Drag the image where it needs to be on the template. Some templates, especially blank ones that are easily filled will scale and center the image for you.
However, if you need to center the image manually, make sure to get the right size of the image and place it into its proper place. If you scale the image down too much, don’t bother resizing it back up. Its resolution has already been compromised, and you’ll end up with a poor-quality image. Just import the backup file, and resize it again to the proper size. Rinse and repeat until you get things right.
Next, you want to enter your signature in the appropriate place on your fake ID. If you have a drawing pad for your PC, great; this is easily done. However, if you don’t own a drawing pad, getting this done with a mouse and a thin paint tool is really tricky. It’s not impossible, but it’s trickier than importing your scanned or photographed signature and then pasting it onto the template.
Scanning or photographic your signature is the best approach. Wrong line thickness or misalignment are dead giveaways of a fake ID. Just sign your name on a blank piece of clear-white paper using a black ink pen. Next, photograph it, import it into an image processing software, and use a wand tool to select and delete white areas.
This will leave you with just your signature on a transparent background. You can then easily paste it onto your template. Just make sure to align it properly. If the lines are too thin, try reinforcing them through the software, or use a slightly thicker pen. It might take multiple attempts until you get everything done. Once everything’s done, save the whole file, and move on to printing.
6. Time to Print
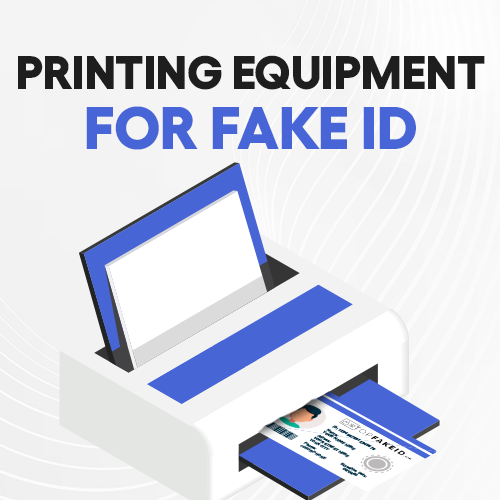
To print, you’ll need high quality paper that will get you the feel of a real ID. Most government documents are printed on proprietary cardstock that’s not accessible to the public, so you won’t be able to purchase them. However, Teslin paper, a synthetic printing paper that’s commonly used for printing cards, is a really good substitute.
Most medium and high-end laser printers are fully capable of printing on Teslin paper, but printing a good-quality product will require tweaking your printing settings. Make sure to buy enough Teslin paper. Inkjet printers struggle with printing on Teslin, and the quality of the print isn’t as durable. However, once done correctly, it’s nearly impeccable.
The exception to this rule are pigment-based inkjet printers, which produce vibrant colors and work really well with Teslin. However, they do come at a higher price point. It’s also a good idea to adjust your printing settings regardless of which type of printer you’re using.
Additionally, you want to make sure that you have enough ink inside your printer. If there’s not enough ink, the end result might end up cloudy. Once everything’s set up, print your fake ID. You might have to do this in several attempts to get the stuff right and produce great-looking results.
Print your ID on Teslin paper; the process might take longer to print compared to usual printing. Once done, let the ID “rest” for some 30 to 45 minutes. Then it’s time to laminate.
7. Alternate Printing Materials
Teslin can be costly, and so are the printers required for printing on such paper. Below, we’ll introduce you to an alternative method that produces similar results, but the feel of the final product isn’t as similar to the real ID as Teslin.
The steps associated with the process are pretty much the same as with printing on Teslin, but instead of using synthetic paper, you’ll print on cardstock. Get some matte, heavy cardstock weighing between 100 and 130 lbs. The weight of the cardstock refers to the overall weight of 500 sheets of paper type, and 130lbs is the heaviest home printers can print on.
Just print the front and back of your fake ID on the same cardstock. Once done printing, let the product rest for a while, and then cut the front and the back using a paper cutter, scissors, or a utility knife. Once cut, it’s time to glue the sides together.
We recommend using paper glue or wood glue to glue the sides. Just spread it against the backside of each half of the ID, and use a cotton swab or a spreader to spread the glue out evenly. Paper and wood glue don’t bind as fast as all-purpose or super glue, so let it rest for a few minutes. Just make sure you apply thin layers to each side to avoid overflow.
Carefully press the glued sides together, and center them by sliding them until the edges match. Once that’s done, just place the ID under a heavy object to flatten it as it dries. Large books are great for keeping the ID flat as the glue dries.
The glue takes approximately four to eight hours to fully cure, so leave it resting under a heavy, flat object. Do something else in the meantime, like editing another fake ID, or binge-watch your favorite show. Once the glue has cured, proceed with laminating the ID as usual.
8. Laminate the ID
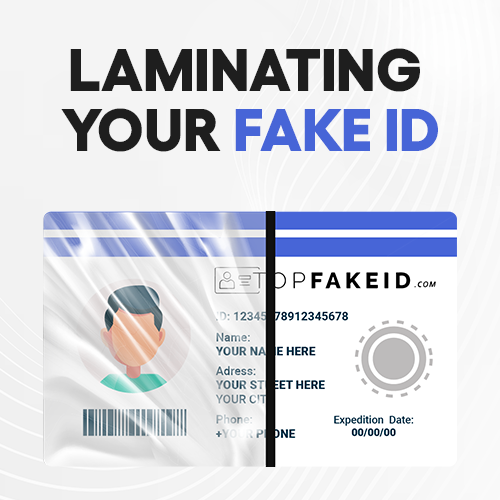
For this process, you’ll need a butterfly pouch (which is just a folded sheet of laminate) and a laminator machine. Set your laminator to medium heat, and place your printed ID into the butterfly pouch. Fold it at the crease, and place the entire thing into the laminator crease free, to avoid any bubbles.
Slowly guide the ID through the laminator machine, and let it sit for another 30 to 45 minutes after it’s done. Your butterfly pouch should be sealed around the edges of your fake ID, so use a utility knife to trim the excess laminate and get a clean cut against the edge of the ID.
Conclusion
Take note that the steps described in the guide are for educational purposes only. If you’re looking to obtain a fake ID card, the best possible approach is to order one online from a reputable fake id maker. However, if that’s not an option, you can always rely on what you learned while reading this guide.
Most ids are now manufactured using polycarbonate. Teslin is outdated, if you make your id using PVC or cheaper material like Teslin. That’s a straight giveaway. Try inspecting the Florida id. Colors on Teslin are off vs the rough feeling.
How do you go about having a metallic or papery finish to the card substrate? For instance NY ids are not smooth and have a matte finish. While states like New Jersey or Georgia are bright ones. definitely feels like the most legit.